Why Remote Workers Need a 15-Minute Posture Check
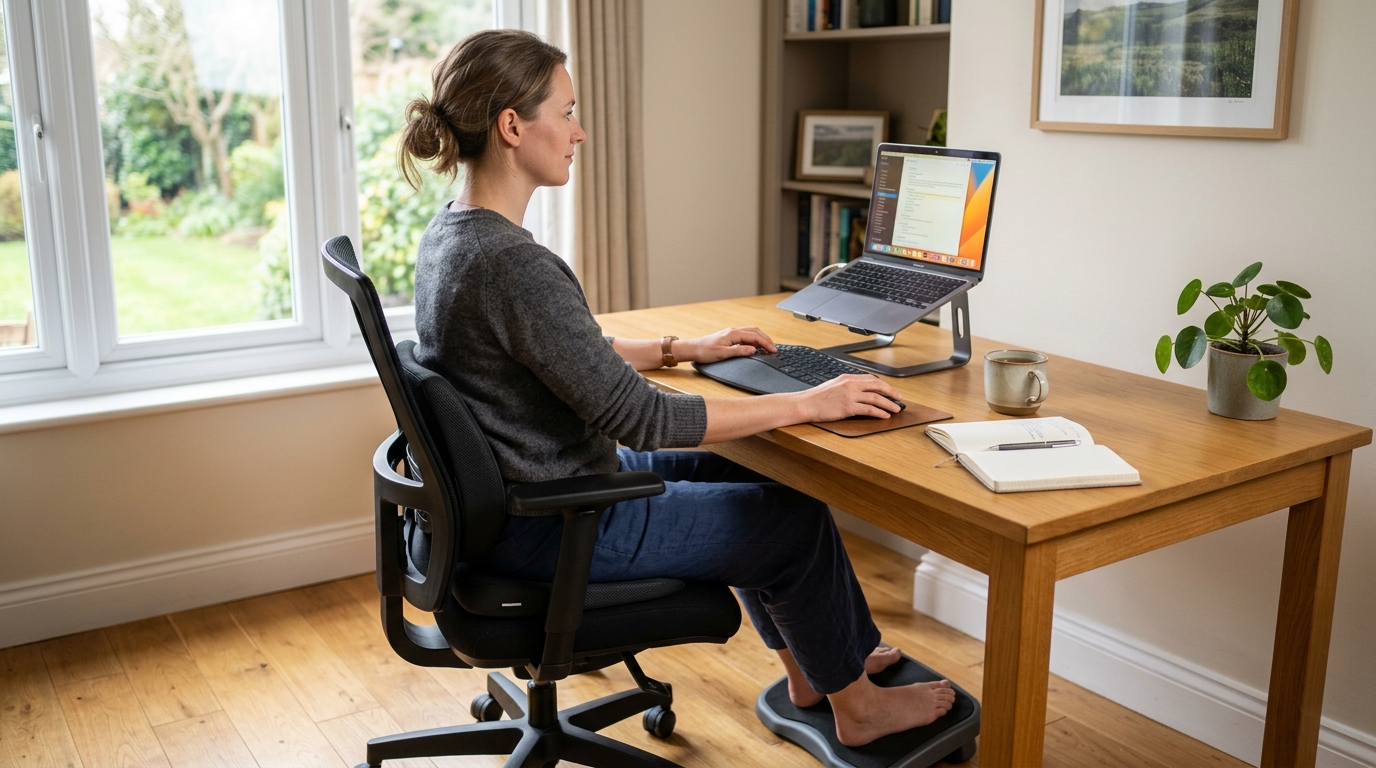
If you work from home on the sofa, at the dining table, or perched on the edge of your bed, you might notice your neck, shoulders, and lower back feeling tighter than they used to. The more time you spend hunched over a laptop, the easier it is for forward head posture, rounded shoulders, and a tucked-under pelvis to become your new “normal.”
Health organizations and spine-care resources point out that prolonged sitting with poor posture is strongly linked to neck and low back pain, and they recommend regular movement breaks and basic ergonomic adjustments as a first-line strategy to protect your spine. This routine is for mild stiffness and fatigue, not for treating serious pain or disease; if your symptoms are severe, new, or persistent, consult a healthcare professional before continuing.
On days when I noticed my own posture collapsing after hours of remote work, testing this 15-minute posture check once or twice a day made it much easier to keep working without feeling completely drained by the evening.
Who This Routine Is For
This 15-minute posture check routine is especially helpful if you:
- Work from home as a freelancer, remote employee, or hybrid worker who spends most of the day sitting.
- Use non-ideal setups like kitchen chairs, sofas, or low coffee tables as makeshift desks.
- Frequently feel dull stiffness in your lower back, hips, neck, or shoulders after long online meetings.
If your home setup also includes a lot of computer work, you may find our 15-Minute Neck, Shoulder, and Lower Back Stretch Routine for Keyboard and Mouse Users a helpful companion, especially for upper-body tension.
Overview of the 15-Minute Posture Reset
This posture reset is designed to be simple enough that you can actually do it during a busy workday. It uses your chair and the floor—no special equipment required.
- Pelvis and lower back release: about 8 minutes
- Spine alignment: about 5 minutes
- Finishing relaxation: about 2 minutes
You can do this routine on a yoga mat or directly on a carpet or rug. Lumbar cushions, seat cushions, and footrests are optional helpers: they are not medical devices or treatments, but everyday supports that make it easier to maintain better sitting posture.
Step-by-Step 15-Minute Posture Check Routine
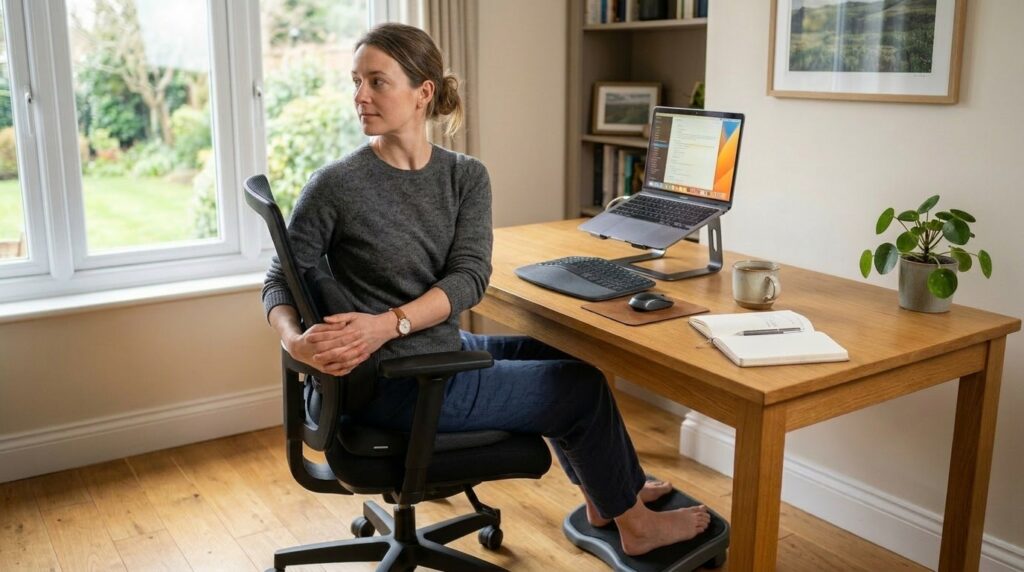
Step 1 – Chair Twist for Pelvis and Lower Back (About 4 Minutes)
Move: Seated Chair Twist
Starting position
Sit toward the back of your chair with your feet flat on the floor. Keep your spine gently upright—not rigidly straight, but not slouching either.
How to do it
- Place your right hand on the outside of your left thigh.
- Place your left hand on the backrest or side of the chair.
- Inhale and imagine lengthening your spine.
- As you exhale, gently rotate your upper body to the left, staying within a comfortable range.
- You should feel a mild stretch along your lower back and side.
- Hold for 10–15 seconds, then slowly return to center.
- Repeat on the other side.
- Perform 2 sets on each side.
Breathing
With each twist, inhale as you lengthen the spine and exhale as you relax into the stretch, imagining tension melting away from your back.
Safety notes
- If your lower back feels sensitive, do not force a deep twist—keep the movement small and controlled.
- Avoid bouncing or jerking; stay smooth and intentional.
Step 2 – Pelvis and Spine Alignment on the Floor (About 6 Minutes)
Move 1 – Pelvic Tilts (About 2 Minutes)
Starting position
Lie on your back on the floor or a mat with your knees bent and feet flat on the ground.
How to do it
- Inhale gently.
- As you exhale, lightly engage your abdominal muscles and tilt your pelvis so your lower back presses gently toward the floor.
- Hold this position for about 3 seconds, then relax.
- Repeat 10–15 times.
Safety notes
- Focus on using your core to guide the movement rather than pushing hard with your lower back.
- Stop if you feel sharp pain and stay within a comfortable range.
Move 2 – Knees Side-to-Side (About 4 Minutes)
Starting position
From the pelvic tilt position, keep your knees bent and feet flat. Stretch your arms out to the sides at shoulder height to stabilize yourself.
How to do it
- Keep your knees together.
- Slowly lower both knees to the right, allowing your lower back and hips to gently follow.
- You should feel a mild stretch in your lower back and outer hip.
- Hold for 10–15 seconds while breathing steadily.
- Return to the center and repeat on the left side.
- Do 2 sets on each side.
Breathing
Breathe naturally and imagine your lower back and pelvis relaxing a bit more with each exhale.
Safety notes
- Keep your shoulders relaxed and in contact with the floor as much as possible.
- If your back feels uncomfortable, reduce the range of motion and move more gently.
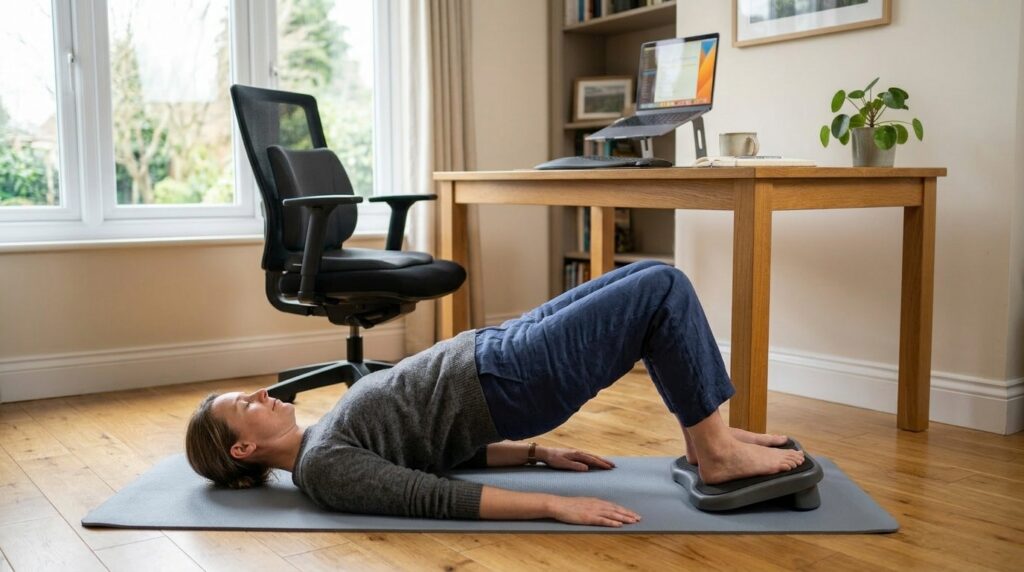
Step 3 – Bridge for Spine and Hip Stability (About 3 Minutes)
Move: Bridge Pose
Starting position
Lie on your back with your knees bent and feet hip-width apart, flat on the floor. Place your arms by your sides.
How to do it
- Inhale and gently squeeze your glutes.
- Slowly lift your hips off the floor, aiming to bring your shoulders, hips, and knees roughly into a straight line.
- Hold this position for about 3 seconds.
- Exhale and slowly lower your hips back down.
- Repeat about 10 times, moving smoothly.
Breathing
Inhale as you lift, exhale slowly as you lower.
Safety notes
- If you feel sharp or “electric” pain in your lower back, reduce how high you lift or skip this move and consult a professional.
- Focus on engaging your glutes and the back of your thighs rather than letting your lower back do all the work.
This move can help re-engage the muscles that support your spine, which often “switch off” after long periods of slumped sitting.
Step 4 – Seated Side Stretch for Finishing Relaxation (About 2 Minutes)
Move: Seated Side Bend
Starting position
Sit comfortably on your chair with both feet flat on the floor. Place your right hand lightly on the side of the chair or seat.
How to do it
- Raise your left arm overhead.
- Inhale and lengthen your spine.
- As you exhale, gently lean your upper body to the right, avoiding any forward hunching.
- You should feel a stretch along the left side of your torso.
- Hold for 10–15 seconds, then return to center.
- Repeat on the opposite side.
- Do 2 sets on each side.
Safety notes
- Imagine creating space along the side of your ribs, not collapsing forward.
- Move slowly and stay within a pain-free range.
Home Office Essentials That Support This Routine
This 15-minute routine can be done with just your body and a chair, but if you spend most of your day sitting, small changes to your setup can significantly reduce strain. Ergonomic resources commonly recommend using lumbar support and proper seating to maintain a more neutral spine and reduce stress on your back.
These tools are not medical devices and do not “treat” conditions like disc problems. They are everyday supports that make it easier to sit well and give your spine a break when you are working long hours at your desk.
1. Lumbar Support Cushion
Why it helps
- Prevents your pelvis from rolling backward and your lower back from collapsing into a C-shape.
- Helps you maintain a gentle, natural curve in your lower back while sitting.
What to look for
- Enough thickness to comfortably fill the space between your lower back and the chair.
- A supportive material like foam or memory foam that holds its shape.
- Straps or a non-slip backing to keep it in place on your chair.
Benefits
- Can reduce lower back fatigue during long sitting sessions.
- Makes it easier to maintain an upright but relaxed posture.
What to watch out for
- Avoid relying entirely on the cushion; aim to keep a mild engagement in your core and glutes instead of collapsing into the support.
If you are exploring lumbar cushions, you might look at products similar to a contoured backrest cushion for office chairs as a reference point.
2. Ergonomic Seat Cushion
Why it helps
- Long sitting sessions can shift your weight unevenly onto one side of the pelvis or concentrate pressure on the tailbone.
- A well-designed seat cushion helps distribute pressure across your hips and pelvis more evenly.
What to look for
- A seat wide and thick enough to support your hips and pelvis stably.
- A center area that is slightly contoured, U-shaped, or donut-shaped to reduce direct pressure on the tailbone.
- A material that maintains its shape over time and does not flatten easily.
Benefits
- Helps reduce pressure on the lower back and tailbone.
- Can make a hard or unsupportive chair feel more comfortable for longer sessions.
What to watch out for
- A cushion that is too high can throw off your knee angle and overall posture, so choose a thickness that fits your chair and desk height.
If your current chair feels too hard or uneven, an ergonomic seat cushion designed to reduce tailbone and pelvic pressure can be a useful addition.
Everyday Posture Tips for Remote Work
Short routines matter most when they are repeated. Here are a few ways to weave this posture check into your daily schedule.
1. Choose One Fixed Slot for Your 15-Minute Posture Check
Pick one consistent time in your day:
- Before starting your morning work block.
- Right after lunch.
- Just before you log off in the late afternoon.
Repeating your posture check at the same time helps your body and brain expect a daily “reset,” making it easier to stick with the routine.
2. Adjust Your Sitting Posture Basics
Whenever you sit down to work:
- Slide your hips back so your buttocks touch the back of the chair.
- Avoid rolling your pelvis too far back; aim for a neutral position where your lower back keeps a gentle curve.
- Place both feet flat on the floor or on a footrest, not tucked under the chair.
Simple ergonomic guidelines often emphasize these basics—supporting the lower back, keeping feet supported, and avoiding prolonged slouching—to reduce strain on the spine.
3. Take Small Movement Breaks Every 30–60 Minutes
Try not to stay in the same sitting position for hours.
- Every 30–60 minutes, stand up for 1–2 minutes.
- Roll your neck and shoulders, walk a few steps, or do one or two of the stretches from this routine.
Workplace ergonomics and occupational health resources often recommend regular microbreaks from static postures to reduce muscle fatigue and discomfort, even when you have a good chair and setup.
Frequently Asked Questions
Q1. Is this routine enough if I already have back pain?
A: This routine is designed for mild, everyday stiffness and fatigue from working at a desk, not for treating serious pain or diagnosed conditions. If you have strong pain, numbness, leg symptoms, or a known spine issue, talk with a doctor or physiotherapist before doing—or continuing—these exercises, and ask which movements are safe for your situation.
Q2. How often should I do this 15-minute posture check?
A: Aim for at least once daily on workdays, especially if you are sitting for several hours. On more demanding days, you can add a second session—for example, one before lunch and one before the end of the day—as long as you move gently and stay within a comfortable range.
Q3. Do I need a lumbar cushion or seat cushion to benefit from this routine?
A: No. You can do the entire routine with just a chair and some floor space. Lumbar cushions and ergonomic seat pads are optional tools that can make it easier to maintain good posture during long work sessions, especially if your existing chair is not very supportive.
Q4. Can I do these exercises during short breaks between meetings?
A: Yes, and that is one of the strengths of this routine. Many of the moves—especially the seated twist and seated side stretch—can be done in just a few minutes between calls, which makes them ideal as quick “reset” breaks throughout a busy remote workday.
Learn More
For readers who want to explore more about posture, ergonomics, and microbreaks, these resources are a helpful next step:
- UCLA Health – Ergonomic and Proper Posture for Prolonged Sitting
Practical guidance on setting up your chair, desk, and screen to reduce strain on your neck and lower back, plus reminders to stand and stretch regularly.
https://www.uclahealth.org/medical-services/spine/patient-resources/ergonomics-prolonged-sitting - Arthritis Foundation – Office Ergonomics: Tips for Arranging a Healthy Workspace
Offers step-by-step tips for arranging your workspace, from chair and monitor height to movement habits, to protect your joints and spine.
https://www.arthritis.org/health-wellness/healthy-living/daily-living/work-life-balance/office-ergonomics - Stanford Environmental Health & Safety – Microbreaks
Explains how taking 30–60 second microbreaks every 20 minutes can help reduce discomfort and fatigue during repetitive or static work.
https://ehs.stanford.edu/subtopic/microbreaks
Leave a Reply