You sit in front of a computer all day, and by the time you get home, your shoulders feel like they’ve rolled forward, and your upper back feels tight—almost locked.
When you catch a glimpse of yourself in the mirror after work, you notice your posture looks even more hunched than it did in the morning.
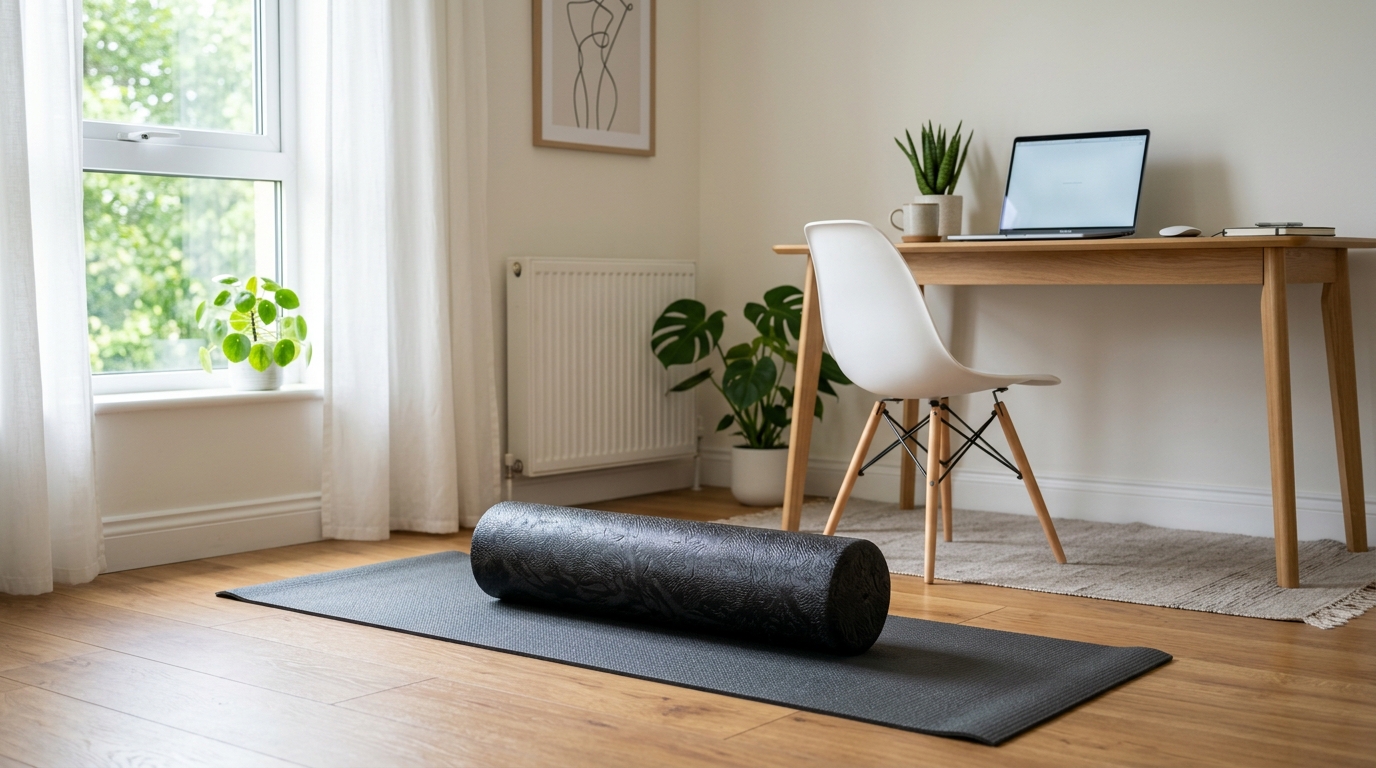
This guide is for office workers, remote workers, and anyone who’s bought a foam roller but isn’t sure how to use it effectively for upper back tension.
We’ll walk through a 15-minute foam roller routine specifically designed to release rounded shoulders and scapular tension—two of the most common issues for people who sit for long hours.
Important: This routine is for mild stiffness and fatigue, not for treating serious pain or disease. If symptoms are severe, new, or persistent, consult a healthcare professional before continuing.
I tested this routine on evenings when my upper back felt tight after hours of typing, and even one 15-minute session made the rest of the evening feel noticeably lighter.
Why Your Upper Back Gets Tight
Your upper back—especially the area around your thoracic spine (the mid-back region between your shoulder blades)—loses mobility the longer you sit.
When you lean forward to look at a monitor, your head moves forward, your shoulders round, and your upper back gradually stiffens into what’s often called “rounded shoulders” or “kyphotic posture.”
Over time, your shoulder blades (scapulae) pull outward, and the muscles around them—particularly the rhomboids and middle trapezius—become overstretched and weak, while your chest muscles tighten.
A recent study published in Nature Scientific Reports found that prolonged sitting and poor desk ergonomics are significantly associated with upper back and shoulder pain among office workers.
What you need isn’t just pressure—you need movement that restores mobility to the thoracic spine.
How to Position the Foam Roller
Before you start rolling, positioning is everything.
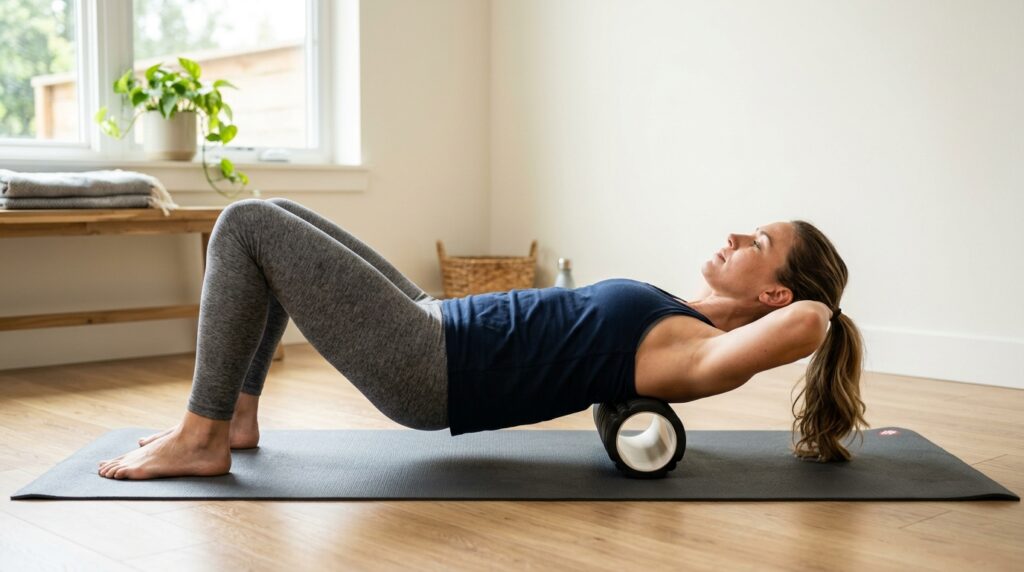
Step 1: Place the roller horizontally on the floor
Lie down with the foam roller positioned across your upper back, just below your shoulder blades—roughly at bra-strap level.
Step 2: Avoid the neck and lower back
Do not place the roller directly on your neck (cervical spine) or on your lower back (lumbar spine). Keep it focused on the mid-back region.
Step 3: Support your head
Gently cradle the back of your head with your hands, elbows pointing out to the sides. This supports your neck and prevents strain.
Step 4: Keep your hips on the floor
Your glutes should stay on the ground. This keeps the movement isolated to your upper back.
Step 5: Eyes toward the ceiling
Keep your gaze upward—don’t tuck your chin or crane your neck forward.
Getting this setup right is half the battle. If your positioning is off, you won’t get the release you’re looking for—and you might even cause discomfort.
If you’ve struggled with posture issues and want a broader routine, you might also find our guide on 15-Minute Upper Body Posture Reset: Gentle Routine to Ease Forward Head and Rounded Shoulders helpful.
The 15-Minute Upper Back Reset
This routine is divided into four phases:
- Breathing (1 minute)
- Gentle rolling (3 minutes)
- Thoracic extension (5 minutes)
- Scapular release (5 minutes)
Let’s break down each step.
Step 1: Breathing (1 Minute)
Start by lying on the foam roller in the position described above.
Close your eyes and take slow, deep breaths through your nose.
As you inhale, imagine sending your breath into the back of your rib cage—right where the foam roller is pressing.
This simple breath work helps your nervous system relax and prepares your muscles for the release work ahead.
According to Mayo Clinic, breathing exercises combined with gentle movement can help improve posture and reduce muscle tension.
Step 2: Gentle Rolling (3 Minutes)
Lift your hips slightly off the floor and use your feet to push yourself up and down over the foam roller.
Move slowly—only 2 to 3 inches (5 to 7 cm) in each direction.
Focus on the area between your shoulder blades and the base of your neck. Don’t roll onto your neck or down into your lower back.
If you feel sharp pain (above a 7 out of 10), reduce the pressure by lowering your hips back to the floor or shifting your body weight.
This isn’t about forcing anything—it’s about giving your upper back permission to move again.
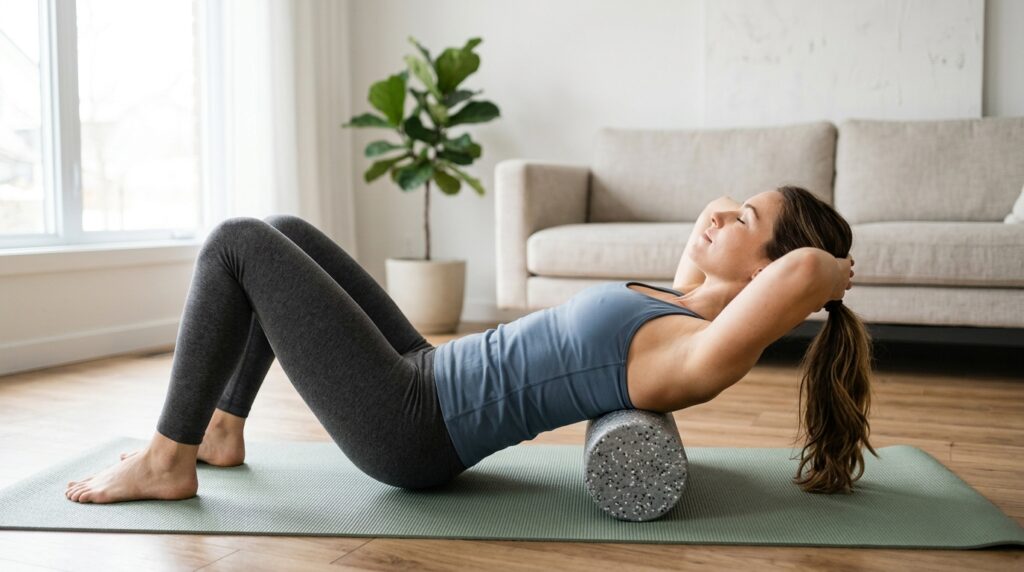
Step 3: Thoracic Extension (5 Minutes)
Now pause the rolling movement.
Keep the foam roller positioned under your upper back.
As you exhale, gently arch your upper back over the roller, opening your chest toward the ceiling.
Think of this as creating a small, controlled backbend only in your mid-back—not in your lower back or neck.
Hold this position for 3 to 5 breaths, then return to neutral.
Repeat 3 to 5 times.
This movement directly targets thoracic spine extension, which is often restricted in people who sit for long periods.
If you’re looking for more ways to address forward head posture, check out 15-Minute Forward Head Posture Reset for Desk Workers.
Step 4: Scapular Release (5 Minutes)
For the final phase, shift your body slightly to one side so that the foam roller presses more into the right side of your upper back (near your right shoulder blade).
Hold this position and take 3 to 5 slow breaths.
Then shift to the left side and repeat.
This targeted pressure helps release tension in the muscles around your scapulae—the rhomboids, middle trapezius, and serratus anterior.
These muscles are often overworked and tight in people with rounded shoulders.
What to Avoid
Even though foam rolling is generally safe, there are a few common mistakes that can cause discomfort or even injury.
Don’t press directly on your neck
Rolling on your cervical spine can cause nerve irritation. Keep the roller on your mid-back only.
Don’t hyperextend your lower back
If you feel a sharp arch in your lower back, you’ve gone too far. The movement should come from your thoracic spine, not your lumbar spine.
Stop if you feel shooting pain or tingling
If you experience pain that radiates down your arms, numbness, or tingling, stop immediately.
Consult a professional if pain persists
If you have a history of herniated discs, chronic upper back pain, or if your symptoms last more than two weeks or worsen over time, consult a physical therapist or orthopedic specialist before continuing.
For more guidance on safe foam roller use, see Foam Roller Safety for Beginners: How to Use It Without Hurting Your Back or Joints.
How to Add This to Your After-Work Routine
The best time to do this routine is right after work, before you shower or settle in for the evening.
Lay out a yoga mat or towel on the floor, grab your foam roller, and spend 10 to 15 minutes releasing the tension that built up during the day.
After you finish, stand with your back against a wall for a moment. You’ll likely notice that your shoulders sit a little farther back, and your chest feels more open.
This isn’t about aggressive muscle work—it’s about gently undoing the patterns your body has been locked into all day.
If you want to pair this with a full-body recovery routine, try 15-Minute Foam Roller Routine: Full-Body Release with Heat Packs and Herbal Tea.
Related Routines You Might Like
- 15-Minute Neck and Shoulder Reset After Meetings and Overtime – A focused routine to release neck and shoulder tension after long work sessions.
- 15-Minute Foam Roller Posture Reset: Restore Your C-Curve Safely After Work – How to use a foam roller to restore natural spinal curves after sitting all day.
- 15-Minute Home Office Posture Reset: Gentle Stretches to Ease Back and Neck Tension – A gentle stretch routine for remote workers dealing with home office stiffness.
Frequently Asked Questions
Q1. How often should I do this routine?
A: Start with 3 to 4 times per week. If you sit for most of the day, you can do it daily—just listen to your body. If you feel sore the next day, take a rest day.
Q2. Can I use a harder or softer foam roller?
A: Beginners should start with a softer foam roller. As your tissues adapt, you can progress to a firmer roller for deeper pressure. Avoid using a roller that’s so hard it causes sharp pain.
Q3. What if I don’t have a foam roller?
A: You can use a rolled-up towel or yoga mat as a gentler alternative. It won’t provide as much targeted pressure, but it can still help with thoracic extension and breathing.
Q4. Can I do this if I have scoliosis or a herniated disc?
A: If you have a diagnosed spinal condition, consult your doctor or physical therapist before trying foam rolling. They can advise you on modifications or alternative techniques that are safer for your situation.
Learn More
For more on upper back health, posture correction, and desk ergonomics, see:
Cleveland Clinic – Thoracic Spine: What It Is, Function & Anatomy
Overview of the thoracic spine’s structure and role in posture and movement.
https://my.clevelandclinic.org/health/body/22460-thoracic-spine
Mayo Clinic – Proper Posture and Body Alignment
Research-backed guidance on posture correction, including the “wall test” and daily posture exercises.
https://newsnetwork.mayoclinic.org/discussion/mayo-clinic-q-and-a-proper-posture-and-body-alignment/
Nature Scientific Reports – Musculoskeletal Disorders Among Office Workers
Study on the prevalence of upper back pain among office workers and the role of ergonomic interventions.
https://www.nature.com/articles/s41598-025-30155-6
Leave a Reply